

07 Jul Ultimate Guide to Stunning Bridesmaid Nail Art
Introduction
Welcome to our ultimate guide to achieving stunning bridesmaid nail art! As experts in the field of nail design and beauty, we understand the importance of having flawless nails for every bridesmaid on that special day. In this comprehensive guide, we will provide you with detailed tips, tricks, and step-by-step instructions to help you create stunning nail art that will make you the center of attention. Let’s dive right in!
Planning the Perfect Bridesmaid Nail Art
Before you embark on creating your beautiful bridesmaid nail art, it is important to plan. Consider the following factors to ensure that your nails complement the overall bridal theme and make a lasting impression:
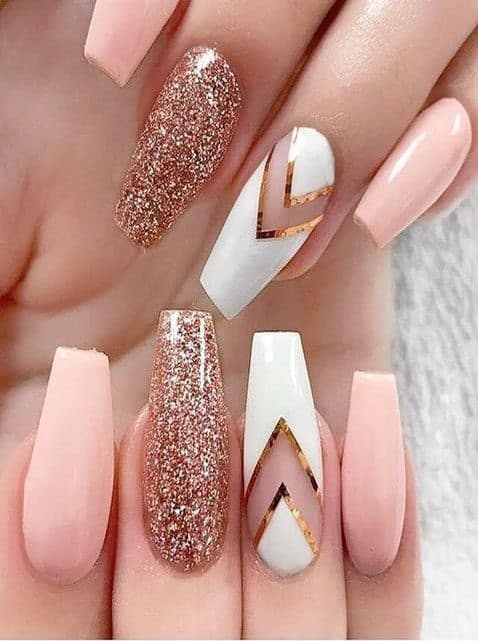
Color Coordination

Choose nail colors that harmonize with the bridesmaid dress and wedding color scheme. Choose shades that enhance the aesthetic appeal and create a cohesive look.
Nail Shape and Length
Determine the most suitable nail shape and length for your bridesmaid role. Whether you prefer square, round, almond, or stiletto nails, it is essential to find a style that suits your taste and matches the overall theme of the wedding.
Nail Health and Care
Start your nail care routine well in advance of the big day to ensure strong and healthy nails. Moisturize your cuticles regularly, file your nails to prevent snagging, and nurture them with a high-quality nail treatment to promote growth and strength.
Step-by-Step Guide to Breathtaking Bridesmaid Nail Art
Now that you’ve laid the foundation for perfect nail art, let’s dive into the step-by-step process for creating stunning nails that will leave everyone in awe. Follow these instructions carefully to achieve salon-quality results at home.
Prep and Cleanse
Begin by removing any residual nail polish and making sure your nails are clean and dry. Trim and shape your nails to the desired length by gently pushing back your cuticles with a cuticle pusher.
Base Coat Application
Apply a thin layer of high-quality base coat to your nails. The base coat will create a smoother surface, help your polish adhere better, and protect your natural nails from staining.
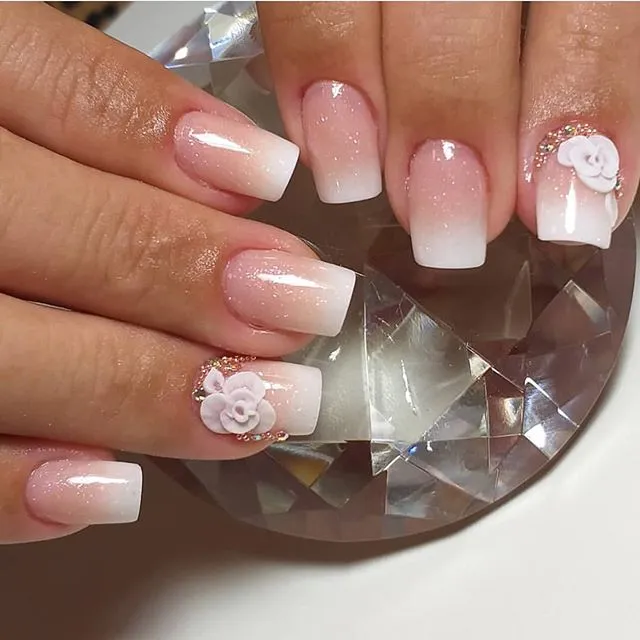
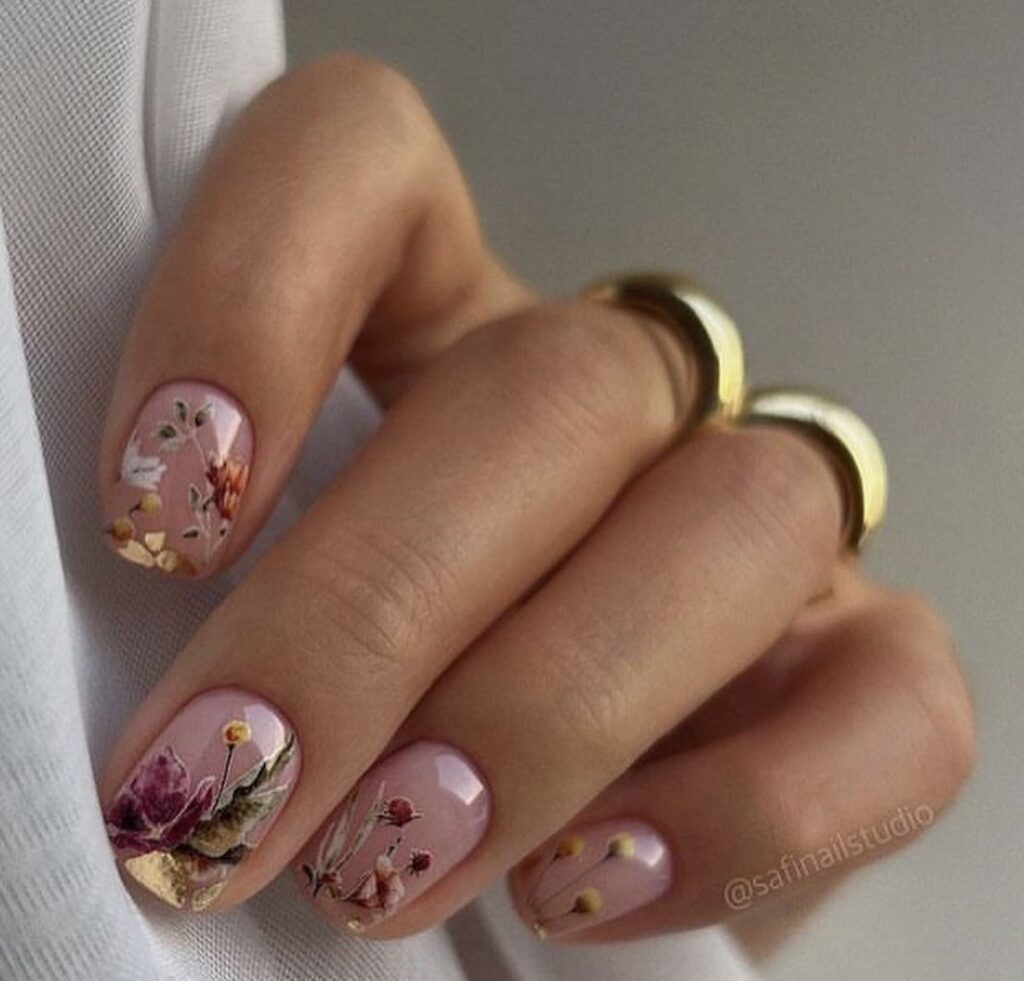
Selecting the Nail Art Design

Pick a nail art design that complements your style and the overall wedding theme. Whether it’s delicate floral patterns, elegant lace designs, or sparkling adornments, find inspiration from bridal magazines, online platforms, or consult with a professional nail artist.
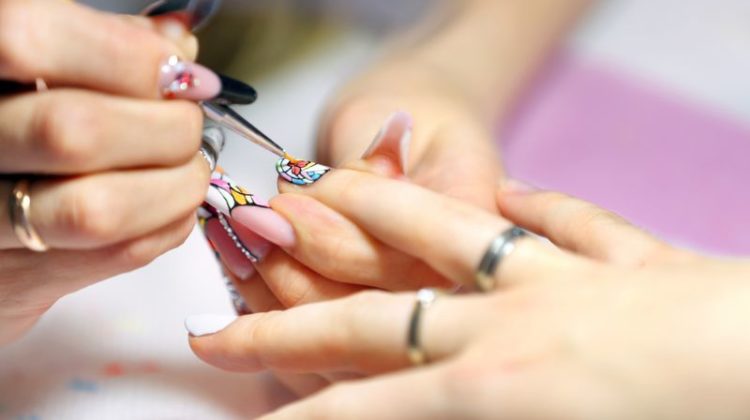
Applying the Nail Art
Follow these general steps for applying most bridesmaid nail art designs:
- Apply the chosen nail polish color as the base color and let it dry completely.
- Using a thin nail art brush or a dotting tool, carefully create your desired design. Take your time and be precise.
- Allow the design to dry, and if necessary, add additional layers for greater complexity.
- Finish with a high-quality top coat to seal and protect your nail art.
Finishing Touches

Once your nail art is dry, take some time to perfect the final look. Clean up any excess polish around your nails using a small brush dipped in nail polish remover. Apply cuticle oil to moisturize your cuticles and hydrate your nails, giving them a healthy shine.
After All
Congratulations! You’ve now mastered the art of creating stunning bridesmaid nail art. With careful planning, attention to detail, and our comprehensive guide, you’ll be able to create nails that perfectly complement your wedding theme and leave everyone in awe. Remember to practice, experiment, and most importantly, enjoy the process. Here’s to flawless nails and unforgettable memories!


No Comments